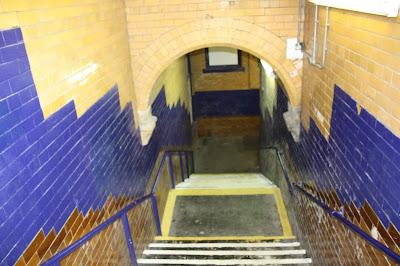
When we went out to take photos we took different photographs with different shot types including WS, MS, MCU, CU and ECU. The reason for doing this is so that we can get more experienced with using a SLR camera. These photos were taken on Werneth Lowe.

This landscape view of Werneth Lowe is a WS and a LS. A WS for this photo is good because you can see a variety of the landscape and with it being a LS you can see far into the distance.
This shot looks like a MS because it is not all of the memorial it is just a segment if the picture had the whole memorial it would be more of a LS. Even though i said it was a MS it is hard to tell because it is an object and not a person.
This photo is a portrait and it is MCU. If he was facing the camera it would look similar to how close cameras are on news presenters. In this photo I like how all of the background is blurred out and the focus is only on Aaron.
This shot is MS because that the camera isn't to close and it isn't to far and it is very visible to look at. I like how that I captured a bit of grass at the tap and the stone at the top looks really detailed.

This shot is a ECU because it is set on just one feature on the face instead of seeing the whole face you just see the eye.
This shot I didn't have to do but I liked it. This shot is a Over The Shoulder Shot. You can see the landscape is the distance the only problem with it is that it is focused on a tree.


