Thursday 7 November 2013

Architecture


For architecture we went out and took a picture of an old building and a more new/recent building, so I took a picture of an church for old and then the bus station for a new because that was the closet thing to new in Hyde.


This is the bell tower of a church and when I took this picture I stood under a tree so that there was a few leaves just over the lense and then I got the leaves out of focus so the bell tower was still visible and in focus.


This picture of the church was in a corner, so I took a picture of it looking up.  The bricks look old making the church look distinguished, even though the building looks old, it still looks intact and looks like it is maintained well so that it can be used on a daily basis.


This image of a more up to date piece of architecture.  For this picture i titled the camera so that it has a little tilt to it, also the sun is shinning through the glass pane windows and you can see that through the reflection on the ground. 


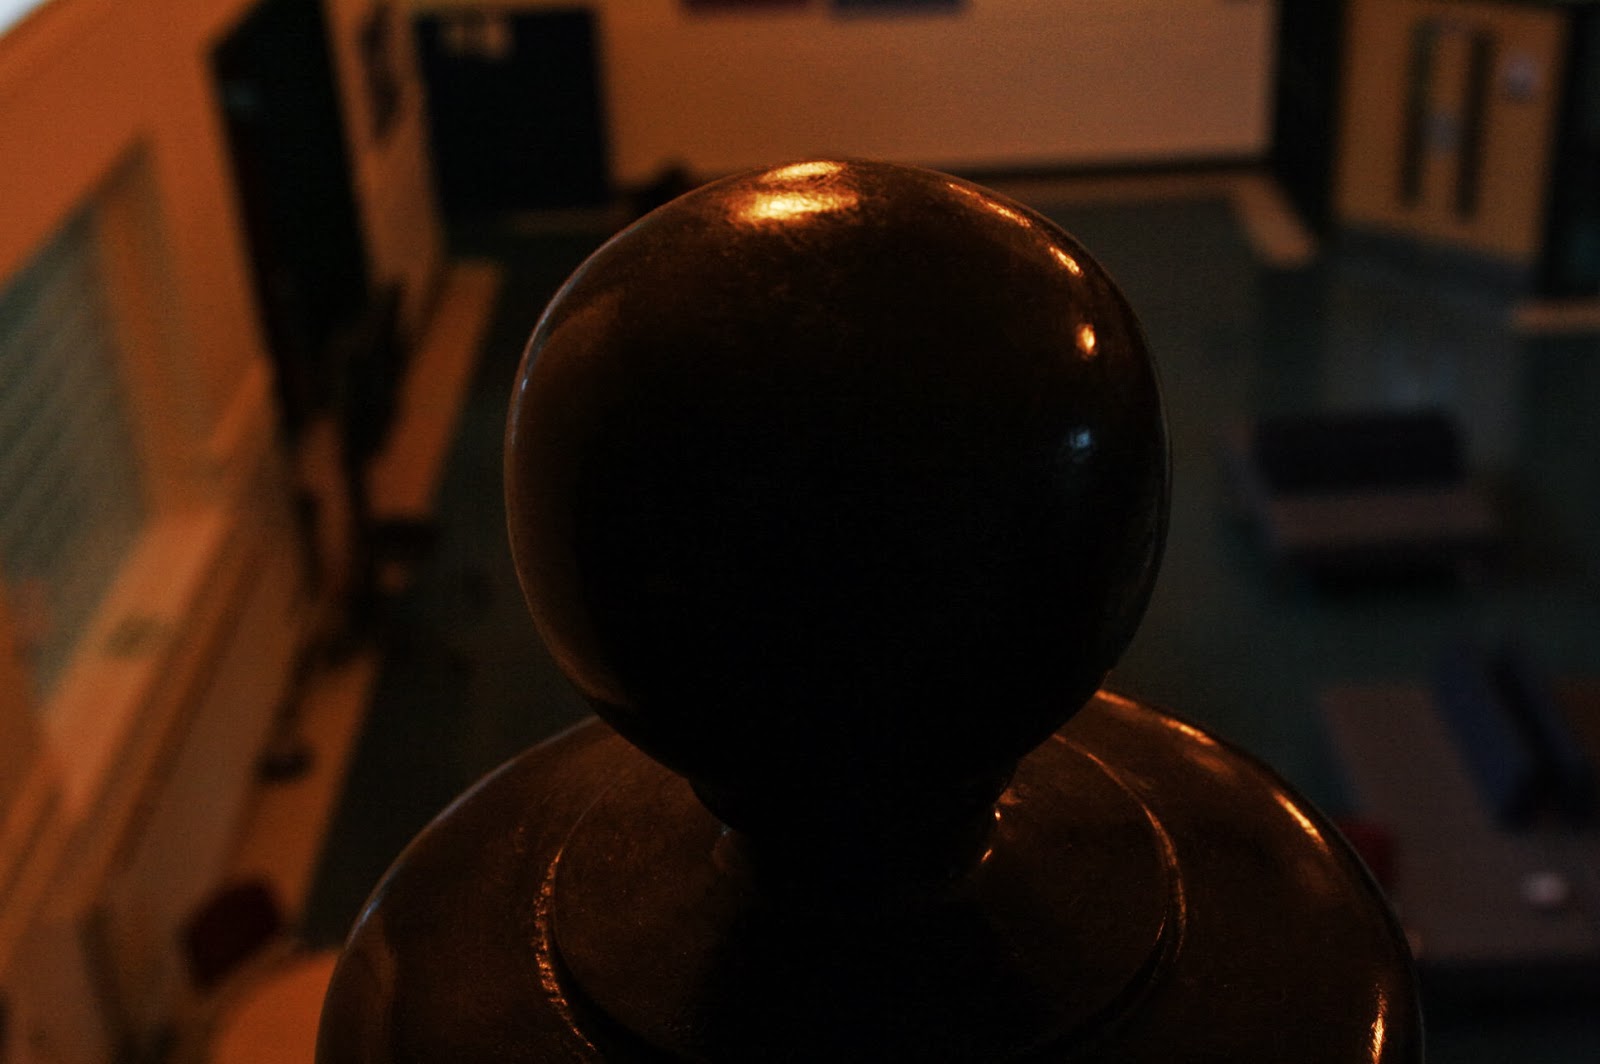
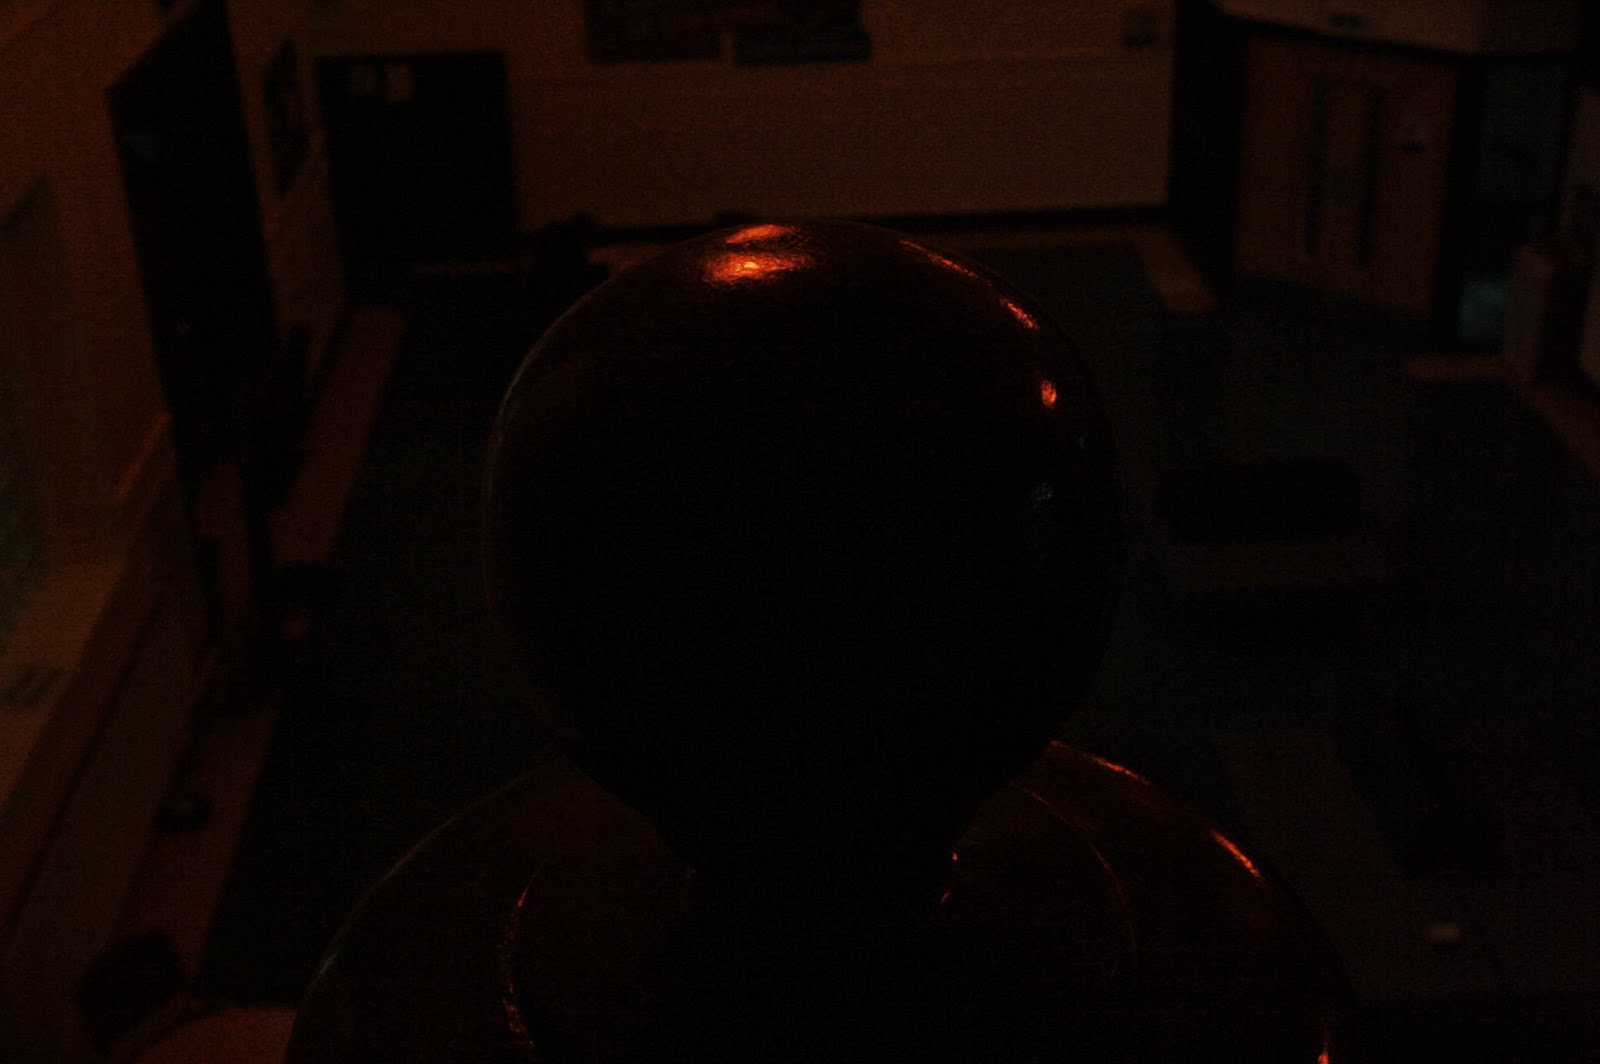
Again this image is of more up to date architecture.  This is the top roof of the bus station and I like how its looks and how the lights looks it looks like a circle and it fades at the top but gets brighter at the bottom. 

Focus & Depth of Field - Activity 8 & 9


Activity 8 & 9 was for to use focus and depth of field.  We had to use the the manual focus to get a subject in focus and then try to get the background out of focus.  For the depth of field he had to do the same thing but instead of using the manual focus we had to only vary the aperture setting to focus the image and get the background out of focus.


These are the best 2 pictures that I got because I couldn't quite get the hang of it.  But the coat is in focus and then Aaron and the windows behind him or in focus.

On both pictures the settings were on F Stop 5 and the Shutter Speed was 1/100.

Thursday 24 October 2013

ISO, Aperture, Shutter Speed - Activity 5, 6 & 7


This is the triangle of exposure.  Exposure is made up of three separate settings on the camera iso, shutter speed and aperture.  For activity 5, 6 and 7 we had to experiment with these 3 setting on the camera.


The first activity was to test what kind of shots you get when you use all of the different iso settings.


The first photo taken was at 100 iso and you can tell that the picture is a bit darker than it actually was outside.


This photo was taken at 400 iso and this one was the closet to the  natural colour of what it was outside.


This photo was take 1600 iso and the picture looks very bright and over exposed.


The iso setting depends on the weather and if it is very overcast you would use a high iso and if it was bright outside you would use a low iso.

Activity 6 was to use the shutter speed and use all the different settings available on the camera.

The shutter speed is used for how long you want to take a picture for.  So if you use the lowest shutter speed which is 1/4 the picture will be really bright because the shutter is open for longer.  The highest shutter speed is 1/4,000 the picture will be really dark because it isn't letting much light in because the shutter closes quicker.


1/4


1/5


1/10


1/20


1/40


1/50


1/60


1/80


1/100


1/125


1/160


1/200


1/250


1/320


1/400


1/500


1/640


1/800


1/1,000


1/1,600


 When I took the the picture on 1/6,000 you couldn't see anything because it wasn't letting enough light through so that was the last picture I took.

Activity 7 was to use the aperture (F Stop) setting on the camera and you use all of them until you can no longer see the image.

Aperture is the opening a closing of the lense smaller the opening the more it is on focused on a specific part of something but if it is open more everything will be in focus, but the picture gets darker.


F Stop 4


F Stop 4.5


F Stop 5


F Stop 5.6


F Stop 6.3


F Stop 7.1


F Stop 8


F Stop 9


F Stop 10


F Stop 11


F Stop 13


F Stop 14


F Stop 16


F Stop 18


F Stop 20


As the aperture is changed to a higher number you can tell that it gets darker and darker considering at what it looked at F Stop 4 and then at F Stop 20 you can barely see the image at all.


Tuesday 22 October 2013

Using Lines - Activity 4


The fourth activity we did was to go out out and take picture of lines, so I went out and tried to take pictures of horizontal, vertical and diagonal lines.


Here are some pictures of a gate behind a police station and because it has raining earlier in the morning there was some raindrops still on there, so I thought it would make a good picture.  The gates are horizontal so it looks like lines.  I like on in the background how the car park is blurred out, this is because the camera is mainly focusing on the gate and the raindrop alone and nothing else.  In another picture the was some more raindrops but  it looked a little out of focus.


This image is from a climbing frame from in a park you can see a big vertical line right down the middle of the wood and then you see can see lots of other vertical lines next to them.  This is because of the way the wood has been made.  I like this because the main focus is the dip in the wood and then the sub focus is the lines that are just there from the nature of the wood.


This photo again is in the park and I would class it as curves because all the rope is twisted together to make it stronger.  The rope is the main focus of the photo you can tell because the ground is blurred out to make it the focus.  The lighting is natural because we are outdoors and it isn't dark so everything is really clear.  


Thursday 17 October 2013

Angles - Activity 3

On the fourth day the activity was to go out and take pictures of lines and pictures which involve different type of angles.  


Tuesday 8 October 2013

Health & Safety For Photography


There is so many sort of health and safety precautions that you have to think about when proceeding with photography.  You have to think about if you are at a outside location or if you are in a studio, you have to think about photography permissions aswell.

Location

The photographer should have public liability insurance from their current employer this covers you if you harm someone from the public or vice versa.

A photographer and his assistant should make sure they have motor vehicle insurance if they are going out for a job, but the insurance will only cover them for business use.

The photographer or assistant should carry out  a risk assessment especially in the areas that the photographer  wants to take pictures.

You should ensure that the location has sufficient fire precautions and have signs in place.

The photographer should share health and safety concerns with his assistant and and the location management if necessary.

All equipment must be tested professionally before going out for a job to ensure that they are fully working and that there will be no problems with them once they get to location.

All of the employees should be trained to use the equipment safely and properly.

Should take precautions to decrease any problems that have been identified relating to safety on the job and to other employees or pedestrians at the location.


Monday 7 October 2013

Rule of Thirds - Activity 2

On the second day of photography we learnt how to use the rule of thirds.  To use this method you have to add a grid on Photoshop, so that the picture you added onto Photoshop is in line with the rule of thirds.  To create a grid on Photoshop, you have to go too VIEW and find RULERS and when you click on rulers there will be a guide on the Y and X axis.  Then you have to change the measurements from centimetres to percentages on PREFERENCES.  You have to make the grid into 9 and to do this you have to put 2 lines on the Y axis and 2 lines on the X axis, 1 at 33.3% and another on 66.6%.


This is how the rule of thirds would like like in Photoshop when there isn't a picture behind it.


This picture has been edited to fit in the grid.  In the original (below) there wasn’t enough grass on the low horizon so to add in some more grass I duplicated the layer and dragged it up so there has some extra grass and used a smooth edged rubber to smooth it out, and now all of it fits in with the grid having the grass as a low horizon the high horizon the hills and the sky and in-between the low and high there is a town.


This photo was taken by dropping a stone into the puddle and then taking the picture of the ripples that the stone made.  As you can see there is one big ripple in the middle.  I had to enlarge the picture so that it fit in within the grid, you can see in the middle square where the stone was dropped in and the edges of the ripple are outside of the centre square.  Outside of the centre square there is also lots of smaller ripples, but as the picture was enlarged some of them have been cut out.


This photo of the green on a golf course the flag that is in the hole is exactly in the middle square because it is the main focus of the picture.  In the bottom middle there is a small plant and it is out of focus, I didn't mean for it be like but it look better that it is out of focus, so that the main focus is still the flag.  Originally the flag was not dead on centre so I had to duplicate the layer so that  I could move it up so that it was central and then used a soft edged rubber so that it didn't look odd at the bottom and I love that you can see the horizon at the top of the picture.


This photo of the sun behind the tree on Werneth Low is good you can just see the sun glaring threw the tree.  This isn't the original photo I enlarged it so that the sun would be in the middle of the grid. The majority of the leaves are on the right hand side of the photo and then there a few leaves on the left hand side and then you can also see the sky.  The natural light on this photo makes it look good.